The ROG Ally, a compelling Steam Deck alternative, offers broader game access via its Windows OS. The 2023 ROG Ally X upgrade enhanced internal components and ergonomics, improving cooling and comfort.
While its portability is a key feature, connecting to a TV or monitor expands its versatility. Both ROG Ally models support external display connectivity for big-screen gaming. Below, we detail connection methods, step-by-step instructions, and recommendations.
Connecting with an Adapter
Several methods exist, but adapters offer a compact solution. Options range from small dongles to direct cables and the official ROG Gaming Charger Dock.
What You'll Need
 ### ASUS ROG 65W Charger Dock
0Supports HDMI 2.0, USB-A, and USB-C for seamless ROG Ally connectivity.See it at Best BuyAsus simplifies Ally-to-TV connection. The ROG Gaming Charger Dock, also a charger, is the most space-saving adapter. A USB-C and HDMI cable suffice. It also includes a USB-A port for mouse/keyboard use.
Third-party USB-C to HDMI adapters connect directly to the Ally's USB-C port. Connect an HDMI cable to the adapter and your TV/monitor. Alternatively, a direct USB-C to HDMI cable eliminates extra steps.
Some adapters offer a passthrough USB-C port for power. If so, an extra USB-C cable and power adapter are needed to charge while gaming.
Step-by-Step Instructions
- Plug a USB-C to HDMI adapter (or cable) into the Ally's top USB-C port. For the ROG Gaming Charger Dock, connect a USB-C cable between the Ally and the dock's USB-C port.
- Connect an HDMI cable from the adapter (or dock) to your TV/monitor's HDMI port. For a direct USB-C to HDMI cable, connect directly to the TV/monitor.
- (Optional) If your adapter has a passthrough USB-C port, connect your Ally's power adapter for charging.
- Power on the Ally; video output should be automatic.
- Switch your TV/monitor's input to the correct HDMI source.
Connecting with a Docking Station
For a Nintendo Switch-like setup, consider a docking station. While no official dock exists (excluding the ROG Gaming Charger Dock), many third-party options are available. Docks provide a stand and charging capabilities.
What You'll Need
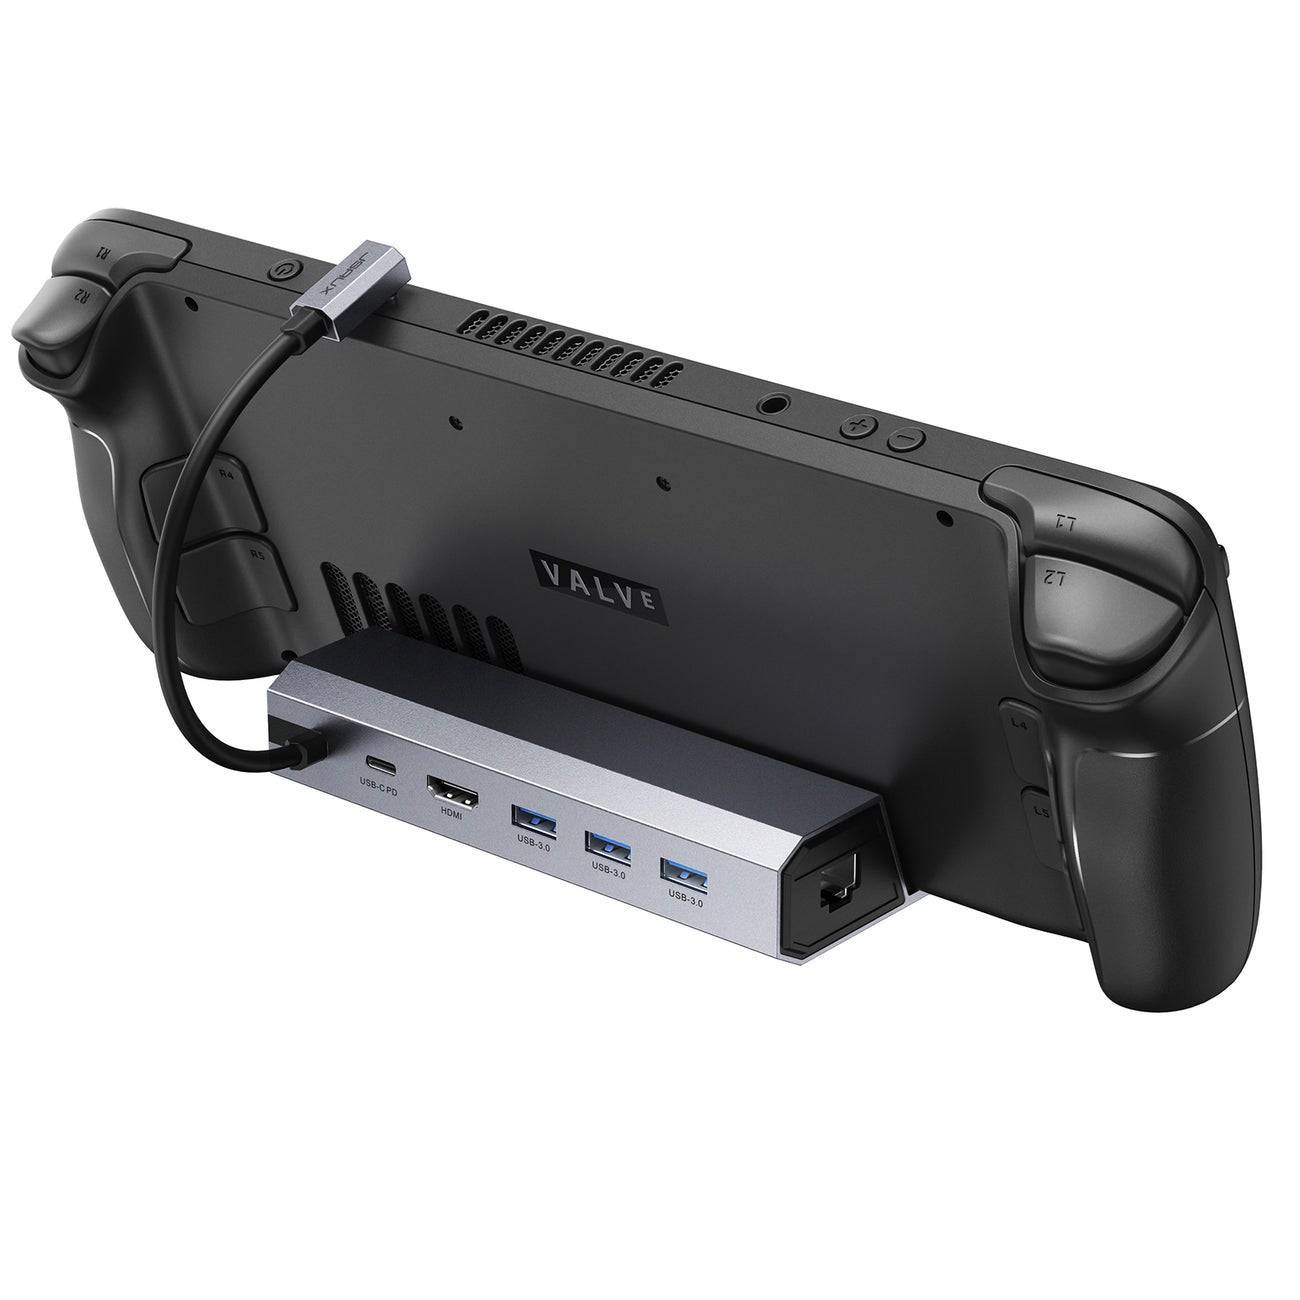 Our Top Pick### JSAUX Docking Station HB0603
2100 watts of power for fast charging and multiple ports in a compact, lightweight design that also serves as a stand.See it at AmazonBasic docks offer HDMI and USB-C passthrough charging. More advanced docks include extra USB ports (for peripherals), Ethernet (for wired internet), SD card slots, and even DisplayPort (for a second display). Smaller, portable docks are ideal for travel. Many Steam Deck docks are also compatible.
Step-by-Step Instructions
- Place the Ally in the dock.
- Connect the USB-C power cord to the Ally's top USB-C port.
- Connect the Ally's power adapter to the dock's USB-C charging port.
- Connect an HDMI cable from the dock to your TV/monitor's HDMI port.
- Power on the Ally; video output should be automatic.
- Switch your TV/monitor's input to the correct HDMI source.
Controller Considerations
While mouse and keyboard work, a wireless controller enhances the big-screen experience. The Ally supports Bluetooth controllers. The following are recommended (and also compatible with the Steam Deck):
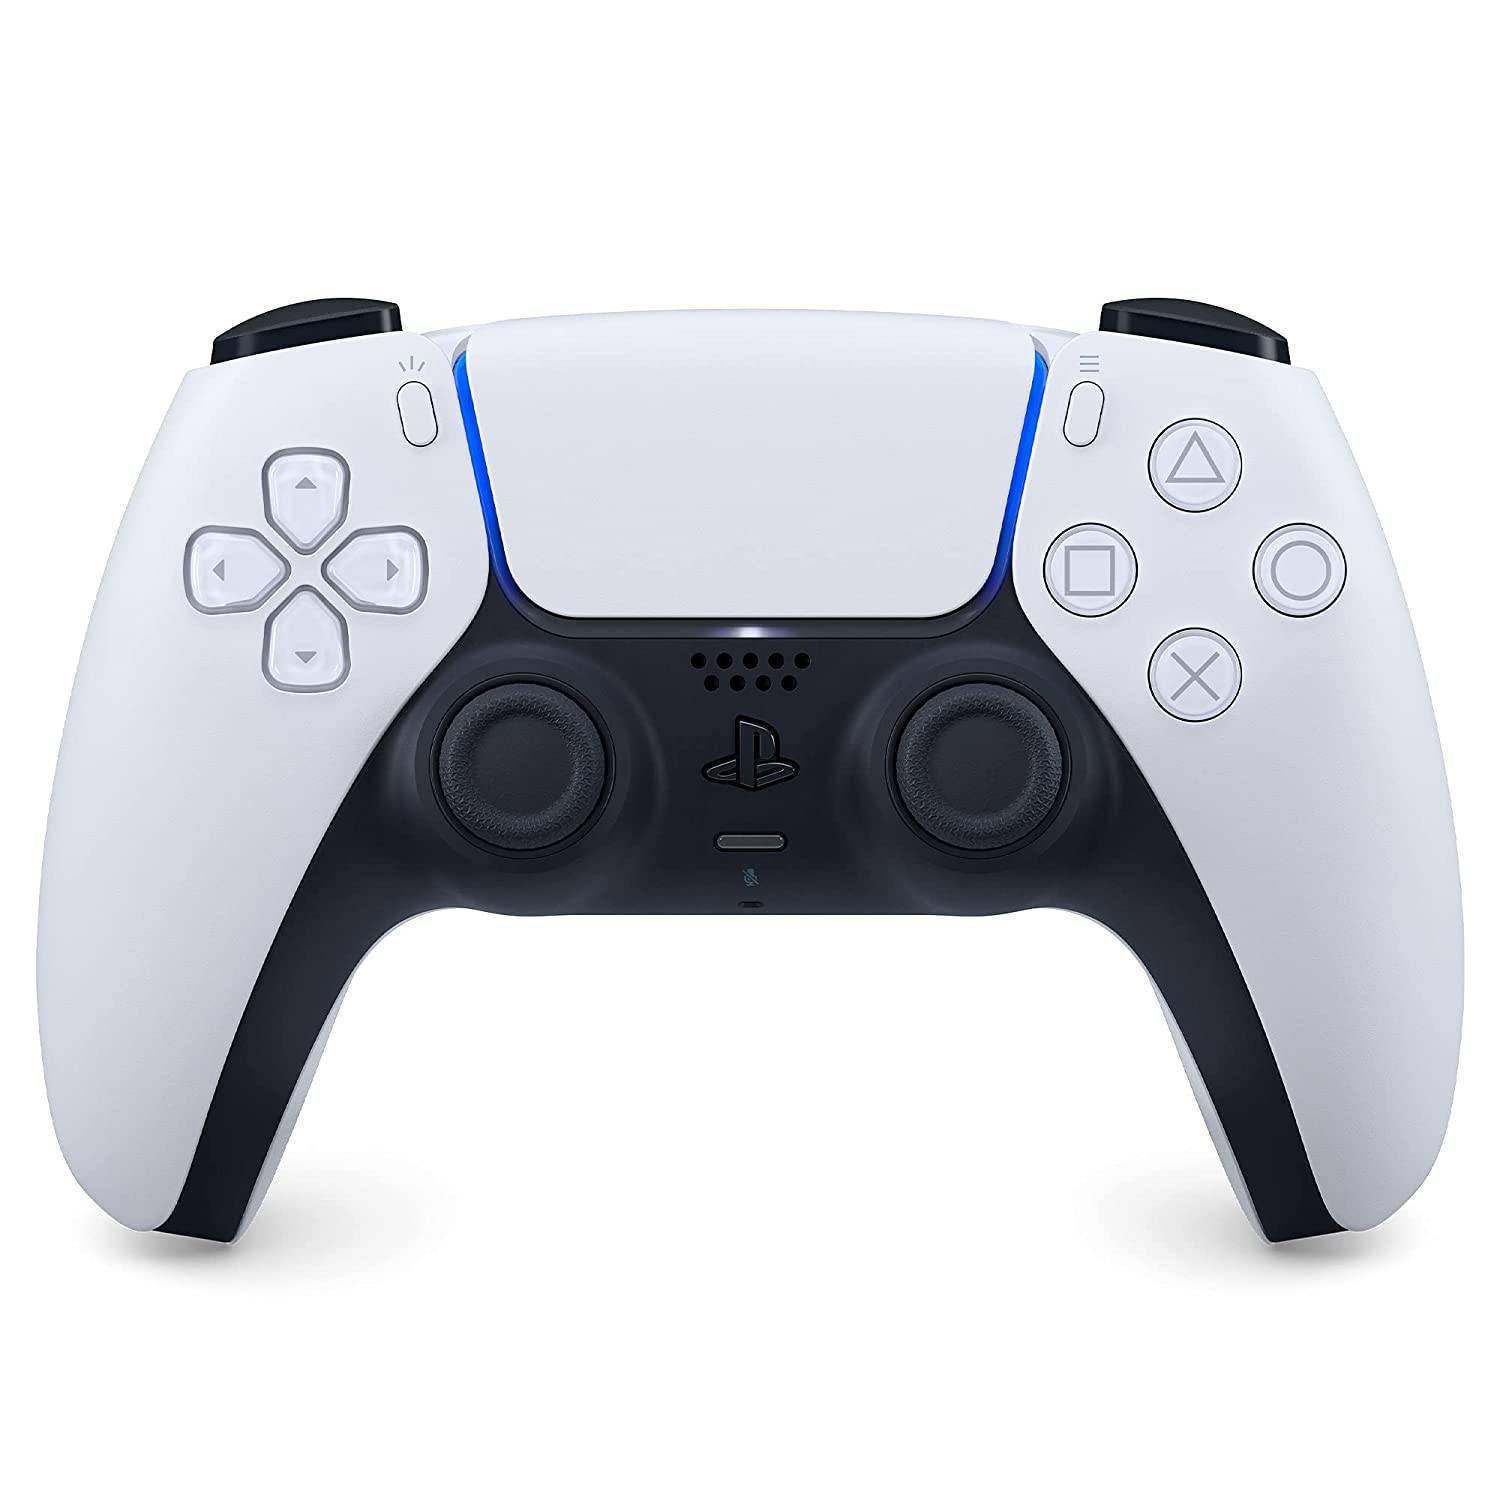 Our Top Pick### Sony DualSense
1See it at AmazonSee it at Best BuySee it at Target ### Xbox Elite Series 2 Controller
4See it at AmazonSee it at Best Buy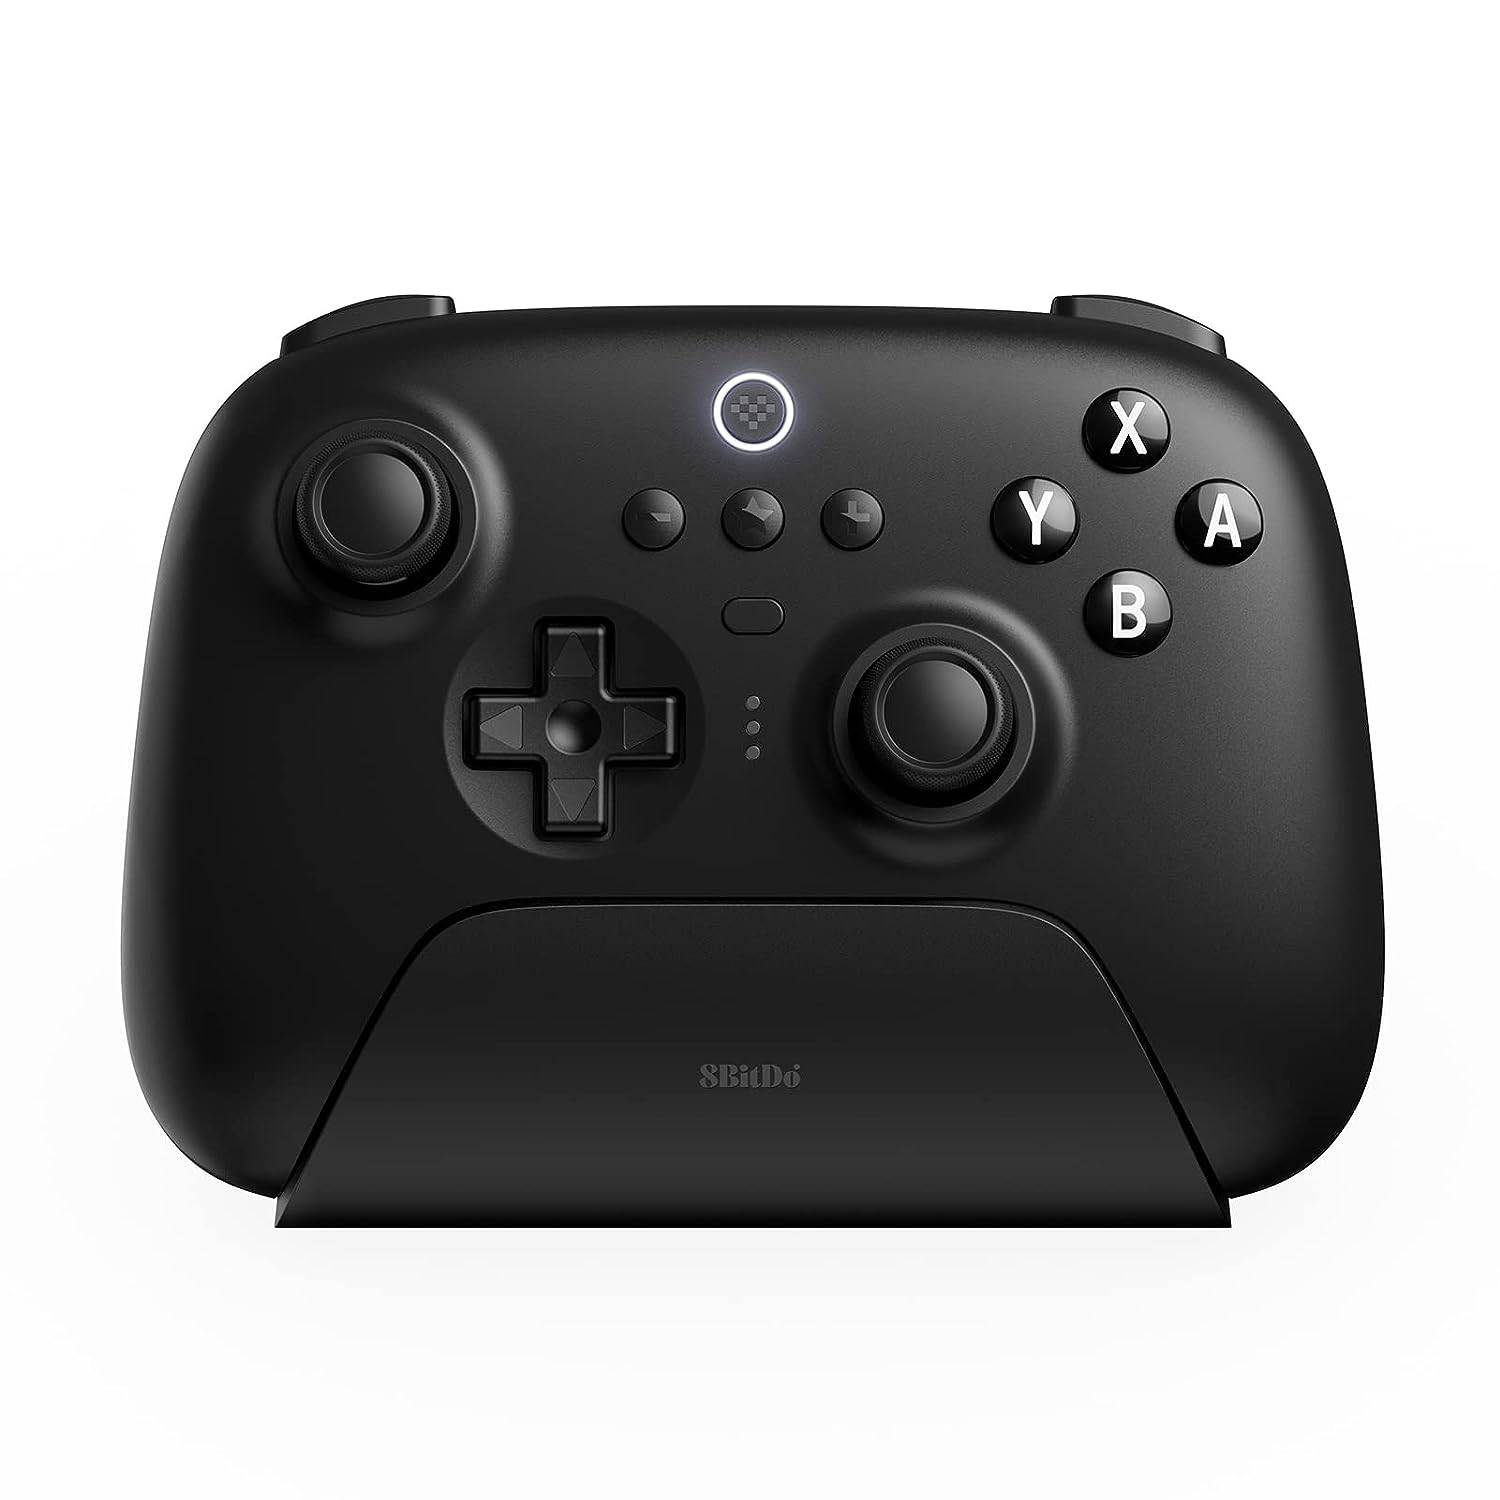 ### 8BitDo Ultimate Controller
0See it at Amazon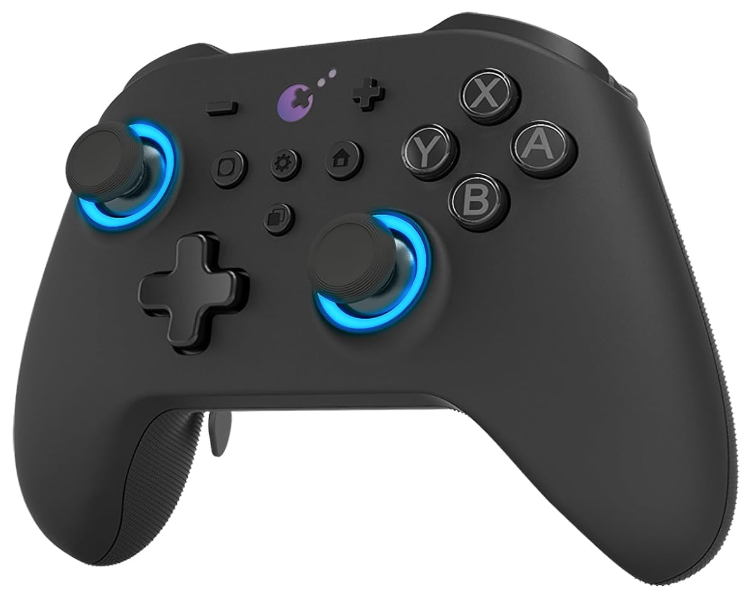 ### GuliKit KingKong 3 Max Controller
1See it at Amazon ### PowerA Wireless GameCube Style Controller
2See it at AmazonOptions include first-party controllers (DualSense, Xbox Wireless, Switch Pro) and numerous third-party choices. 2.4GHz wireless controllers (with USB adapters) often provide lower latency and better range than Bluetooth. Wired USB controllers are also an option for close proximity.