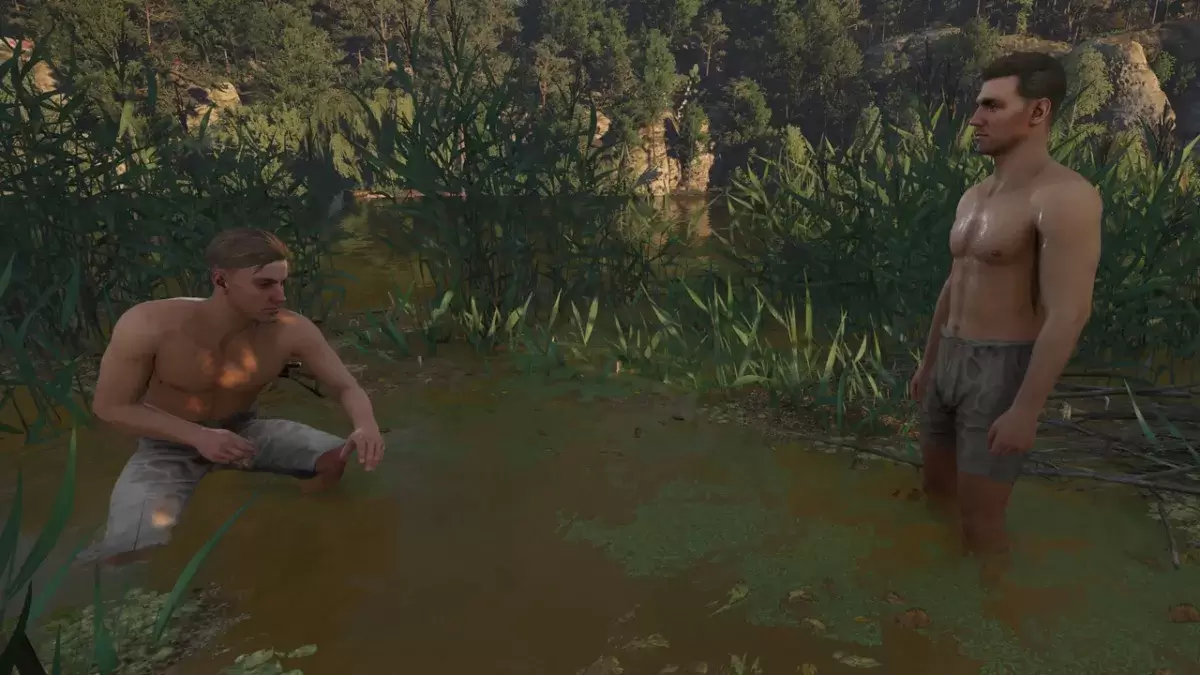
Capture the Beauty of Kingdom Come: Deliverance 2 with Photo Mode!
Kingdom Come: Deliverance 2 boasts stunning visuals, especially in fidelity mode. Want to preserve that beauty beyond gameplay? This guide details how to utilize the in-game photo mode.
Activating Photo Mode:
Unlike some games that lack photo mode at launch, or never receive one, Kingdom Come: Deliverance 2 includes it! Here's how to access it:
- PC: Press F1 on your keyboard, or simultaneously press L3 and R3 on a gamepad.
- Xbox Series X|S / PlayStation 5: Simultaneously press L3 and R3 on your gamepad (pushing both joysticks inward).
Photo Mode Controls:
Once in photo mode, you can freely manipulate the camera around the main character, Henry. You can zoom, ascend, and descend for optimal angles. Here's a breakdown of the controls:
Xbox Series X|S:
- Camera Rotation: Left Stick
- Horizontal Camera Movement: Right Stick
- Camera Up: Left Trigger (LT)
- Camera Down: Right Trigger (RT)
- Hide Interface: X button
- Exit Photo Mode: B button
- Take Picture: Press the Xbox button, then press Y.
PlayStation 5:
- Camera Rotation: Left Stick
- Horizontal Camera Movement: Right Stick
- Camera Up: Left Trigger (LT)
- Camera Down: Right Trigger (RT)
- Hide Interface: Square button
- Exit Photo Mode: Circle button
- Take Picture: Press the Share button and select "Take Screenshot" (or hold down Share).
PC (Keyboard and Mouse):
- Camera Movement: Mouse
- Slow Camera Movement: Caps Lock
- Hide Interface: X key
- Exit Photo Mode: Esc key
- Take Picture: E key
Screenshots on PC are saved to your Pictures folder, while console screenshots are saved to the respective console's capture gallery.
Photo Mode Limitations:
Currently, Kingdom Come: Deliverance 2's photo mode is relatively basic. While you can position the camera freely (within a certain range of Henry), features such as character posing, color grading, time-of-day adjustments, or character placement are absent. Hopefully, Warhorse Studios will expand its functionality in future updates.